First oil print using a dedicated negative

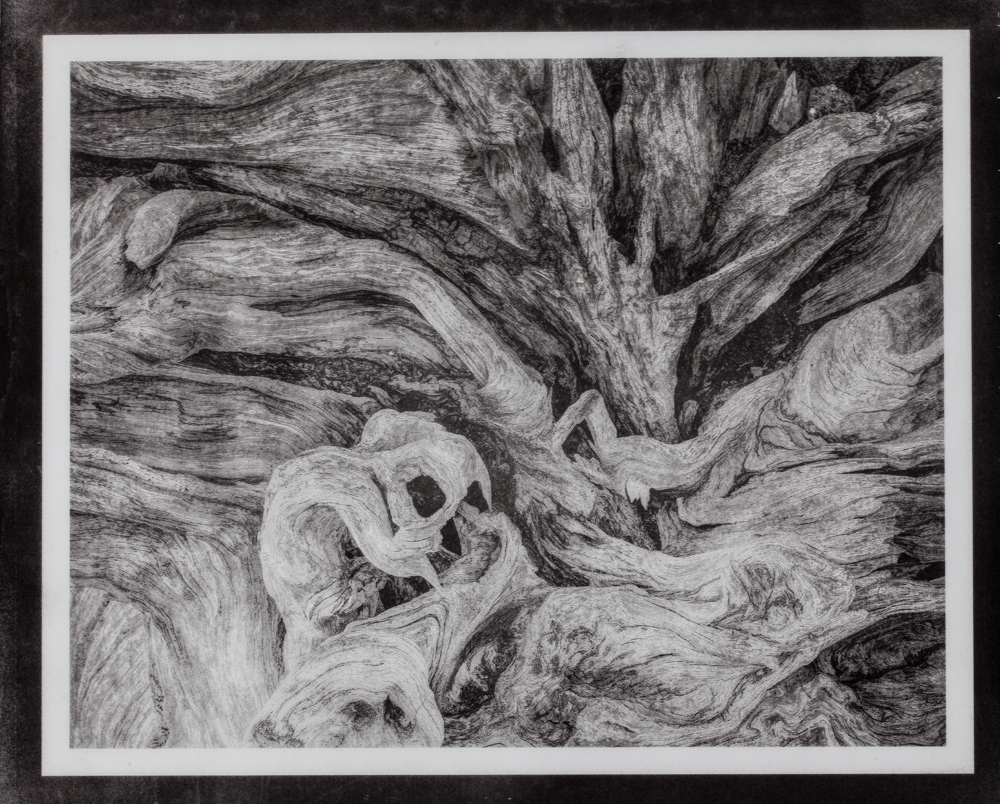
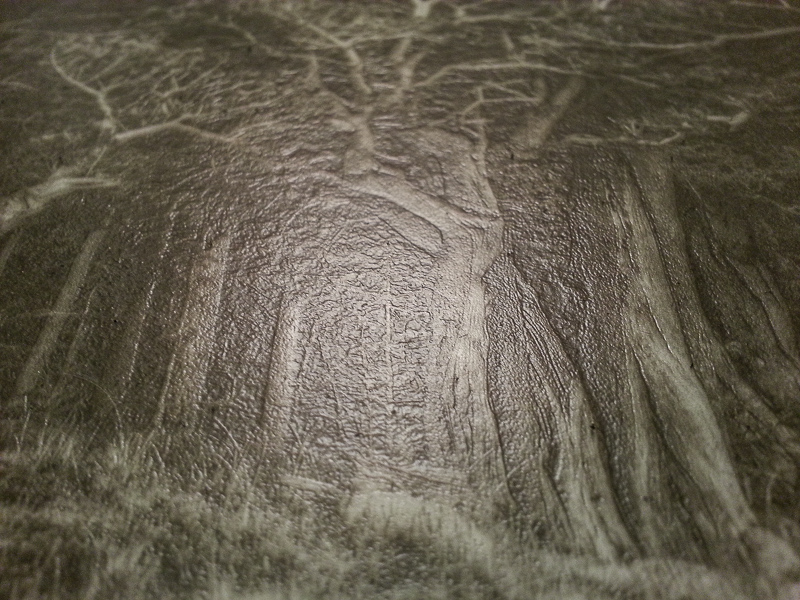
After some testing for optimal color, exposure time, etc. Here is the first print made with a dedicated negative. Bristlecone pine roots.

20160501-roots-oilprintThe neg color was 130-100-60 on the HSB scale.
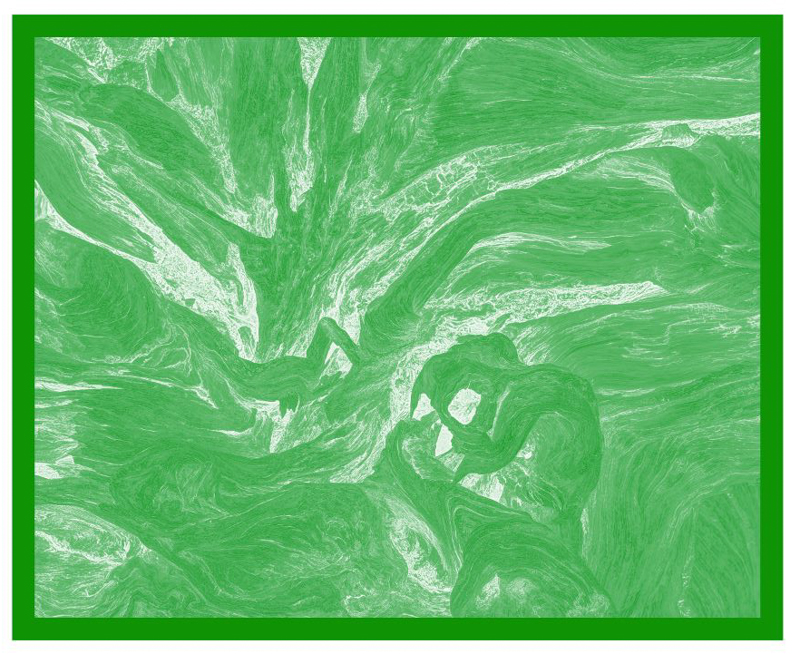
20160501-roots-oilprint-negAnd here is a screen shot of the Photoshop adjustment curve used to linearize the mid-tones.
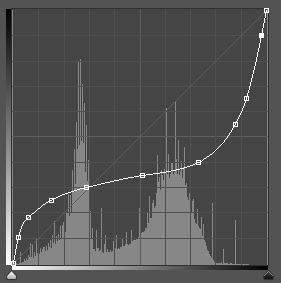
oilprint-curveThere is a lot of work still to be done in fine tuning all of the techniques.

More test prints and a drying frame

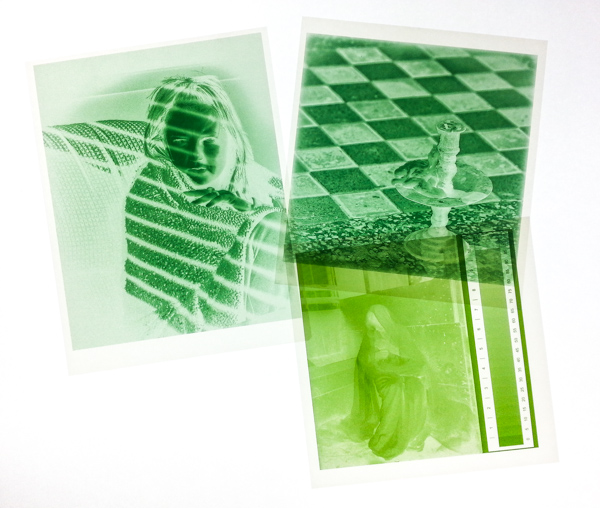
Today I tried printing using another batch of old negatives. I used the last papers poured a week ago. These prints were all made with the 4″ foam roller. While I like the photo-realism of the roller, I will soon be trying brushes to apply the oil-based ink. First, here are the three negatives I used:

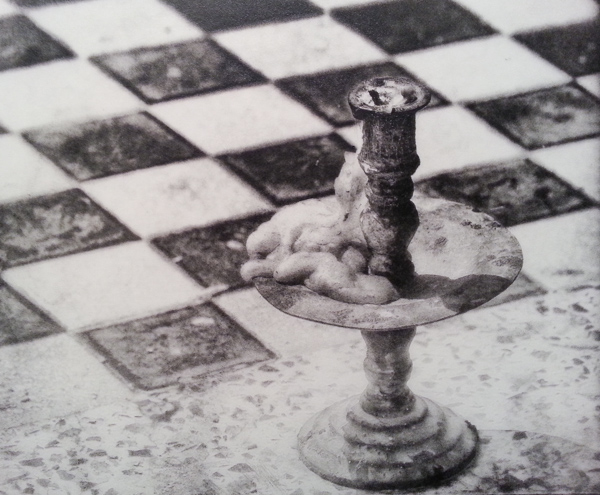
digi-neg-trioAnd here are the three oil prints done today:

Chess table in Chatuchak Park, Bangkok, Thailand.

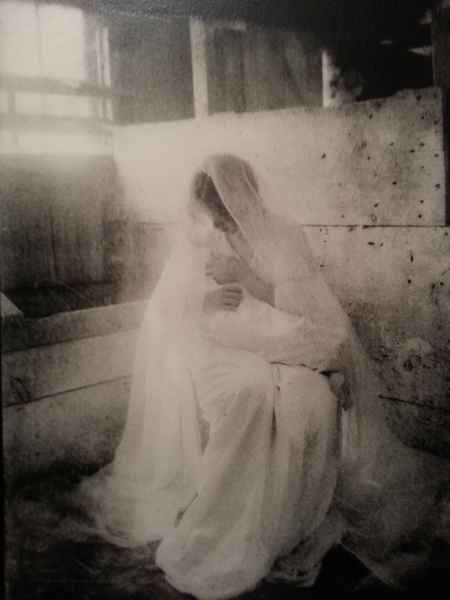
chess_oilThe Manger (from Gertrude Kasebier negative – National Archives)

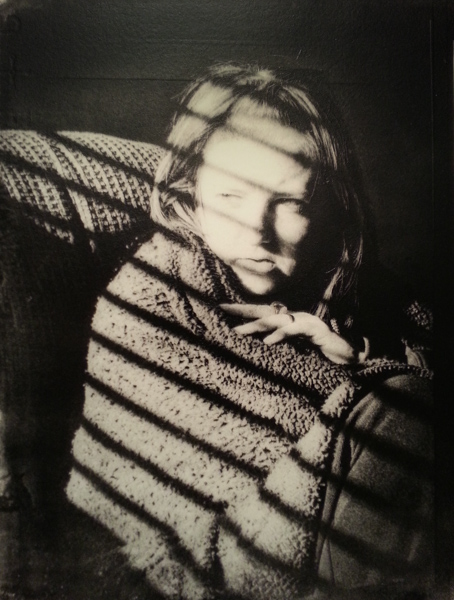
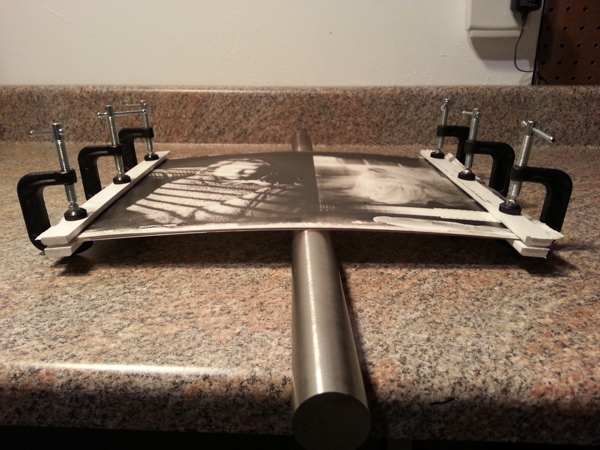
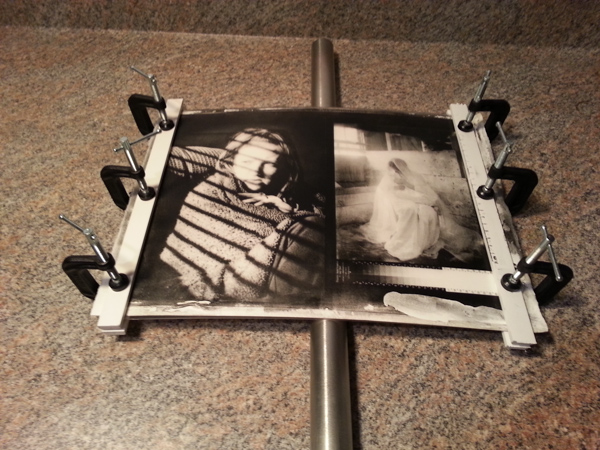
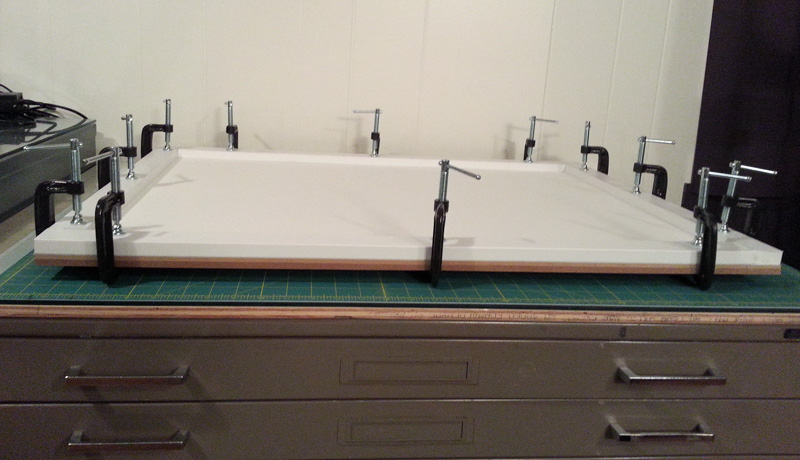
manger_oilMJ -the original was shot with a point-and-shoot camera under harsh lighting, but this print accentuated the high contrast.mj_oilHere’s an attempt at drying a print with a reverse-curl frame. I’m hoping that as the gelatin shrinks, it will pull on the clamps and begin to straighten the thin 11×14 acrylic sheet the image is resting on and not tear away at the edges.

drying_archdrying_arch2


Fresh batch of gelatin

Yesterday, 4/15/16, I mixed up 1-1/2 liters of gelatin in preparation for pouring a dozen sheets of future oil print paper. For my own future reference, here’s the recipe:

120g gelatin (for an 8% mix)

50mL isopropyl alcohol

7.5mL of a 1% chrome alum mix

1.5mL glycerin

Distilled water to make 1.5 liters

Here are some shots of the day:

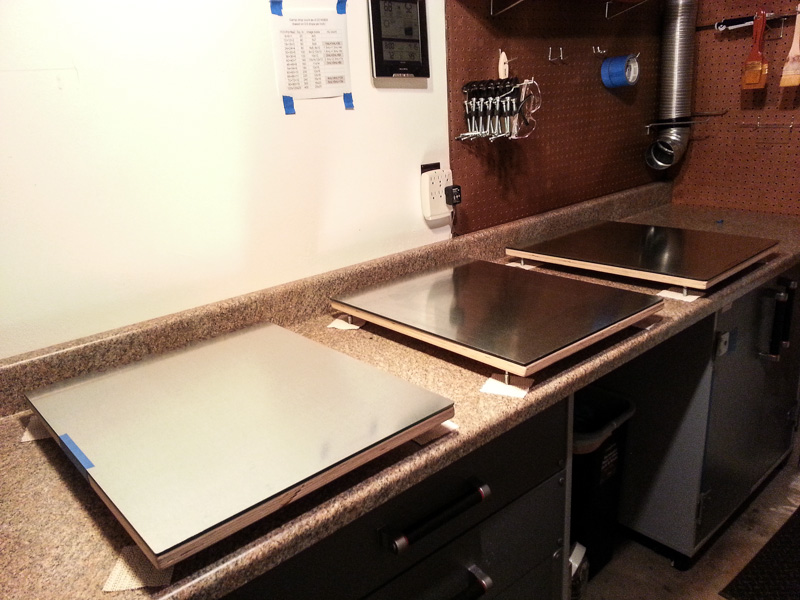
Three leveled pouring stations made of plywood, plate glass, and galvanized sheet metal.

pouring_station

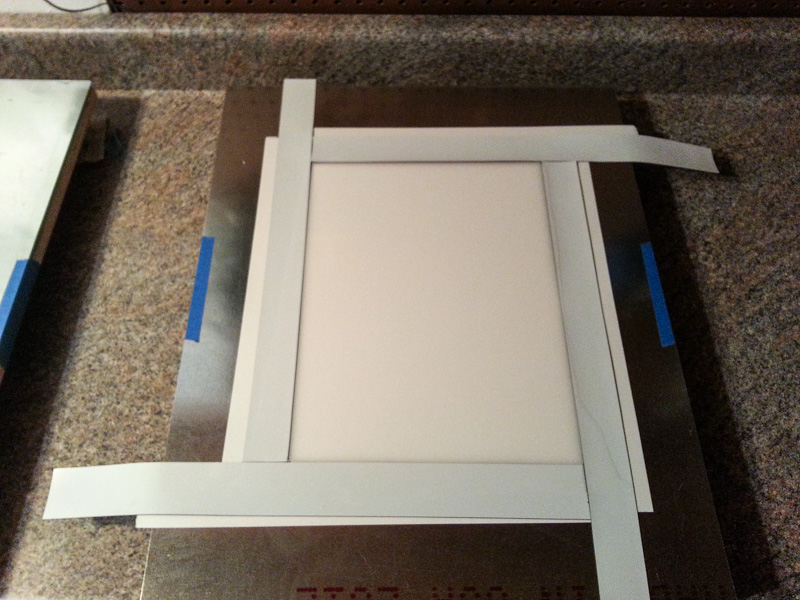
Freshly poured clear gelatin with 0.035″ magnetic vinyl strips to act as a dam. I use 80mL per sheet and smooth the liquid with a heated stainless steel rod. Each paper is 11″ x 14″

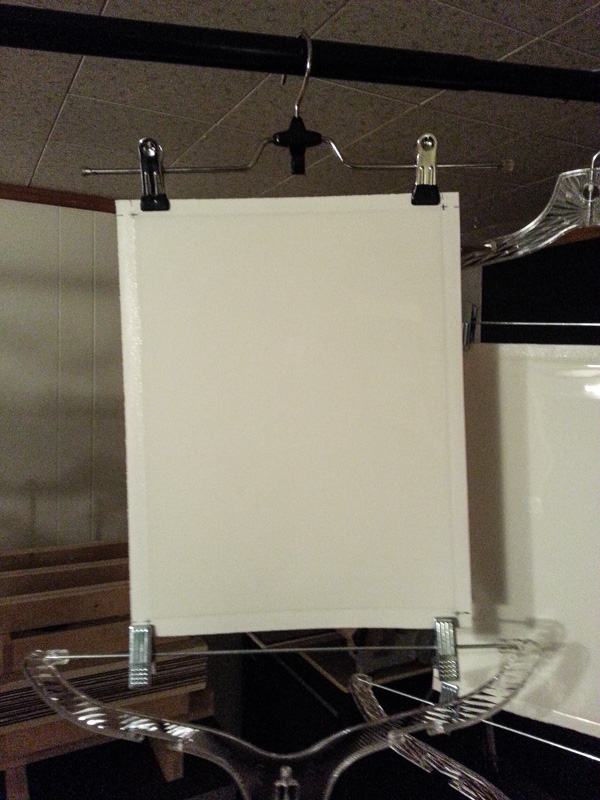
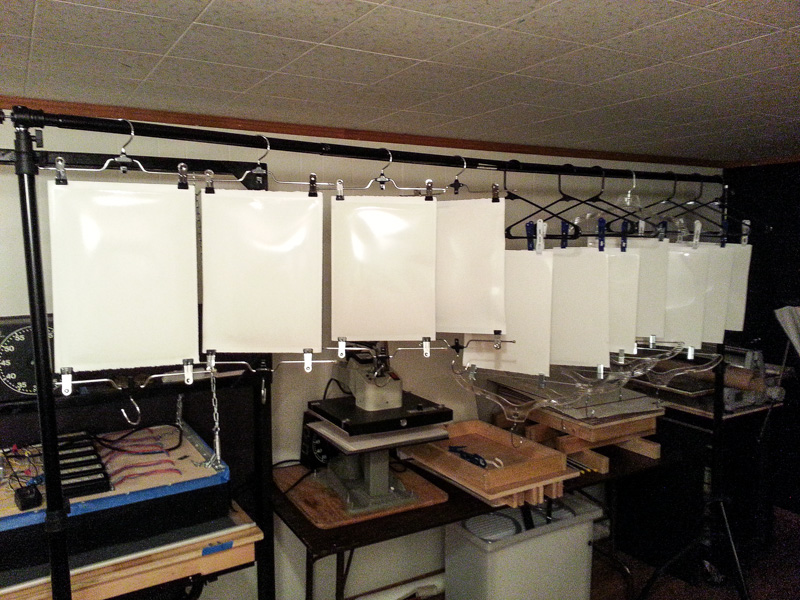
fresh_pourSheets are hung to dry for two days.

drying


First Test prints

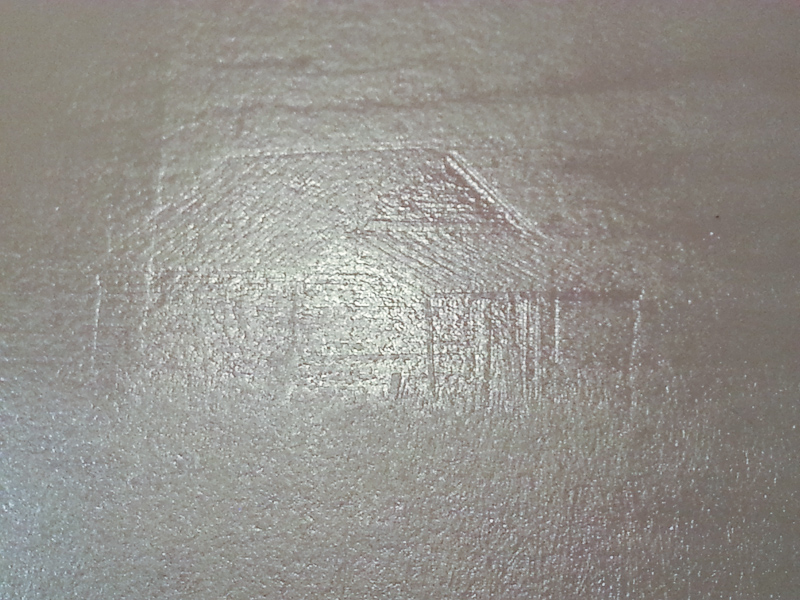
Finally had a chance to ink up a couple of test prints. The first was overexposed but shows some good relief detail in the Bristlecone pine forest. I used an old digital negative made for platinum/palladium.

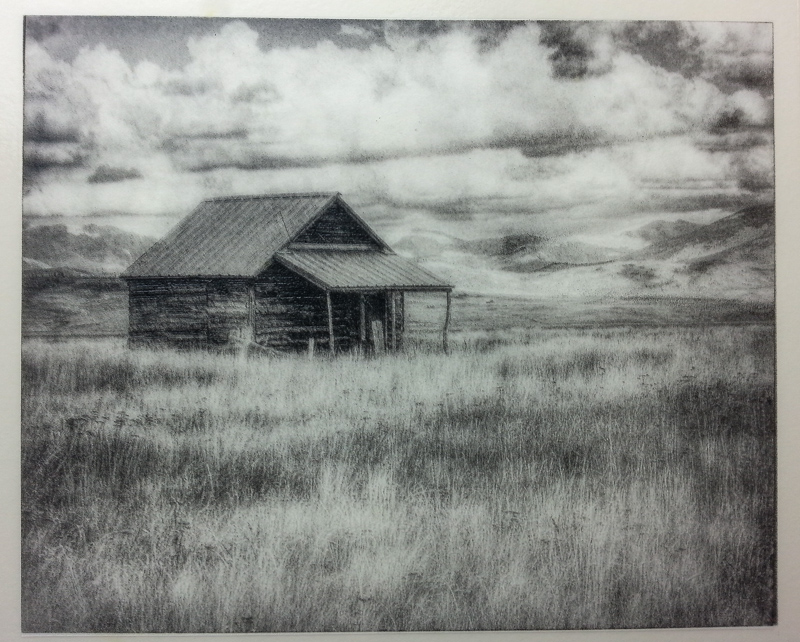
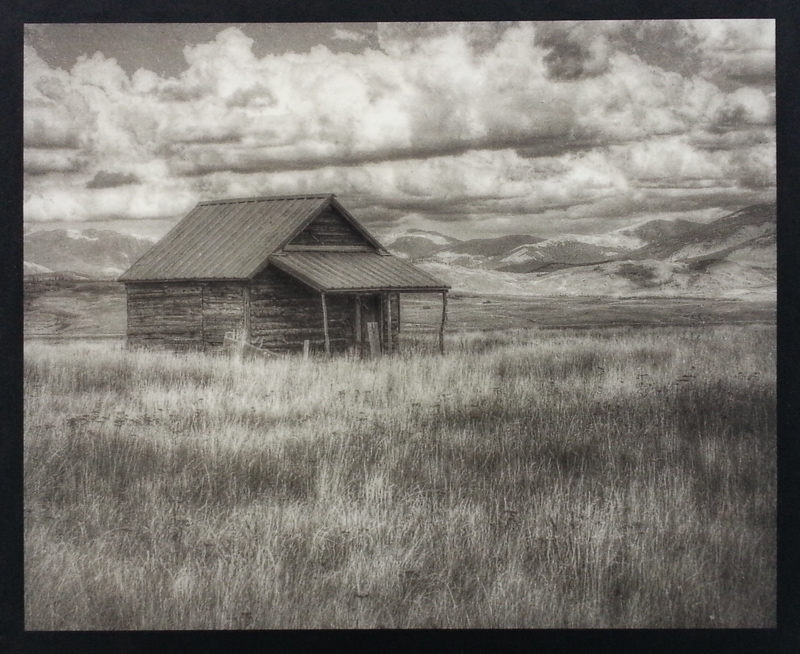
tree_detailNext test was an abandoned cabin near Fairplay, Colorado. again, this was made with a digital neg made for Pt/Pd.

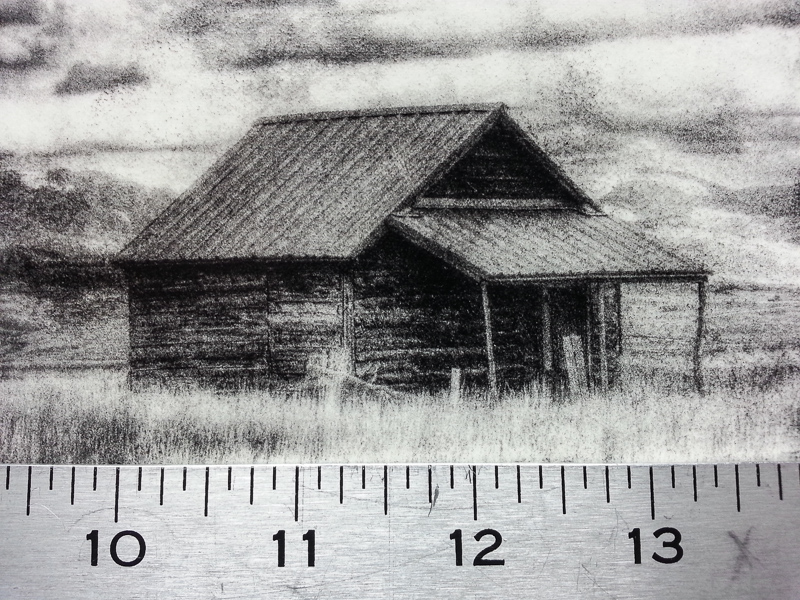
cabin_first_printHere’s a closeup of the cabin with a ruler to give scale.

cabin_detailThe inking was primarily done with a 4-inch foam roller. I then tried modifying local contrast with a 1-inch bromoil brush. I used Graphic Chemical 1496 Black Lithographic ink. The matrix soaked in 70-degree water for one hour before inking. The paper was made a week earlier with an 8% gelatin mix and poured using 0.035″ magnetic strips as a dam. The solution is leveled with a heated stainless steel rod.


First exposure tests

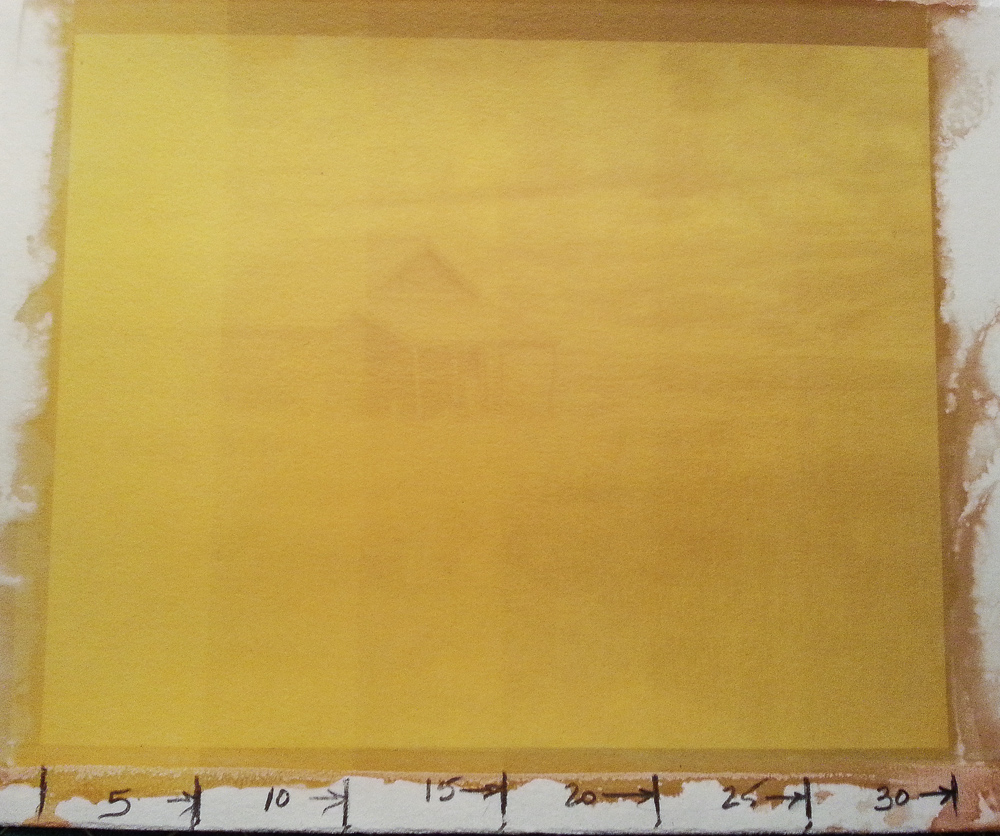
Here are some images of my first exposure tests. This is 8% gelatin with 20mL isopropyl alcohol and 5mL of 1% alum. Poured at 0.035″ using magnetic strips as a dam. Gelatin was leveled with a heated 5/8″ rod.
Sensitized with 4% ammonium dichromate 1:1 with isopropyl alcohol (2% total) at 7mL total or 0.125mL/sq in. This amount seemed excessive for only a single coating.
There appears to be good detail at the 15 min exposure, but I will retest tomorrow with a more detailed negative at 12, 14, 16, 18, 20 min.

Exposure times 5-30 minutes:

cabin_testHere is a closeup of the relief after soaking 30 min in clearing bath:

cabin_closeupAnd here is the same image done in palladium on COT 320 paper using the exact same negative:

20150713_cabin_001


First papers

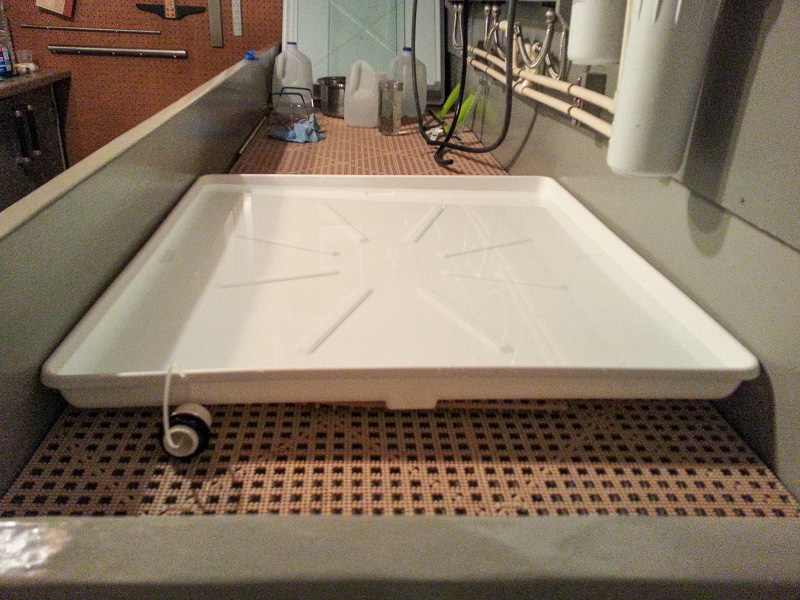
I have decided to begin oil printing with Fabriano Artistico Hot Press paper of 300 gsm weight. First, I begin by stretching the paper by soaking it at room temperature for five minutes. I found this large 28″ x 30″ tray at Lowes hardware store. it is intended as an appliance drip pan and was only $28.

soak_tray


After soaking, I fasten the sheet to a stretching frame I built from hardware store materials.

stretch_frame

When dry, I add a sizing to the paper by brushing on two coats of Liquitex Fluid Matte Medium diluted 1:1 with distilled water.

sizing


The following day, I coated the papers with an 8% solution of gelatin. The mix includes:

80gm gelatin (250 bloom)

20mL isopropyl alcohol

5mL of a 1% solution of chrome alum

distilled water to make 1 liter


I coat the mixture onto the paper as follows:

Soak paper in room temperature water.

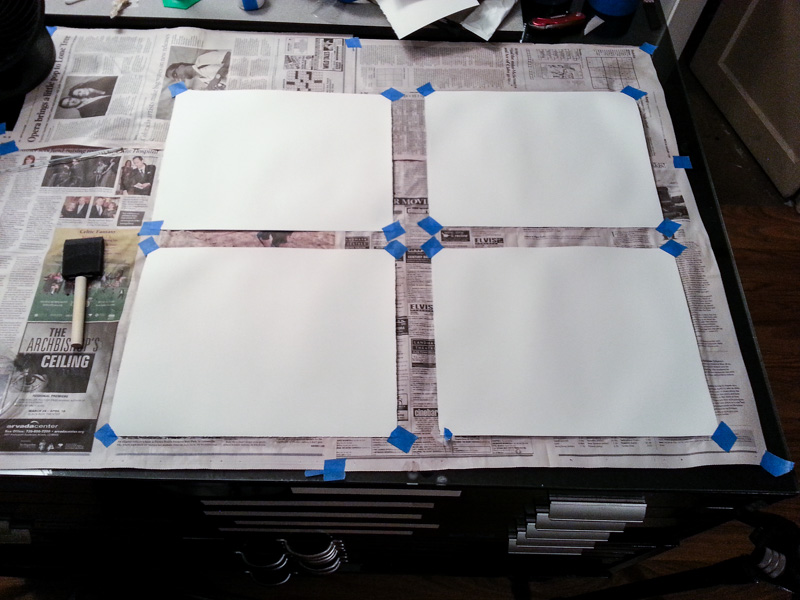
Squeegee wet paper onto sheets of pre-leveled plate glass and galvanized sheet metal on top.

Lay a framework of 0.035″ magnetic vinyl strips just inside the edge of the paper.

Pour the gelatin mix, heated to 110F, over the paper and spread with a heated stainless steel rod.

Remove the magnetic strips, squeegee off a 1/2″ strip of gelatin on both short sides, and hang to dry.

first_gelatins


Beginnings

This page will document my progress in learning a new method of creating photographic prints: the Rawlins Oil Pigment Process. My intention here is simply to document my successes (and failures) for my own use. However, I hope others will find this page useful.

It all began last month when I was invited to spend the better part of a week working with Richard Sullivan of Bostick-Sullivan.com. We began with some carbon printing, then progressed to rod-coating tests and finally oil printing. I’d heard of the Bromoil process, but I must confess I had never read of Mr. Rawlins or his oil pigment process before that week. In the two weeks since that trip to Santa Fe, I have collected several books on oil processes, watched every YouTube video I could find, and have begun ‘tooling up’ for my own excursion into this most interesting, and creative, turn-of-the-century technique.

In a nut shell, You begin with a sheet of watercolor paper, coat it with a layer of clear gelatin, contact expose it to UV light, soak the paper then brush or roll on a heavy oil-based, pigmented ink. Sounds simple, right? Well, since my approach in learning something new is to usually over-research and over-think the data, It could take a while to before the first successful print.

Here are some links to contemporary masters and workers of the craft. They will include both oil and bromoil techniques because the two result in a similar outcome: a photographic print made with hand-applied pigmented oil inks. I will return to this post and add more links as I find them. Note: each link will open in a new page.

Oil Printing:

Oleotype   The process from start to finish.

Frantisek Strouhal Canadian oil printer

The Oil Print Process by Ed Buffaloe

A Method for Making Oil Pigment Prints by Ernest Theisen

Robert Pawlowski Check out his color prints! I really like the Sunflowers.


Bromoil:

Norman Gryspeerdt  A Six-part video interview of a true master.

Constance Asseman Making an amazing forest print.

Joy Goldkind