
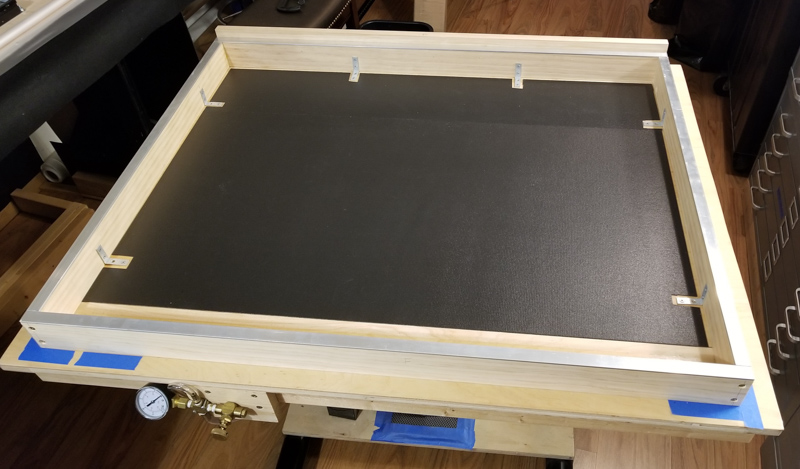
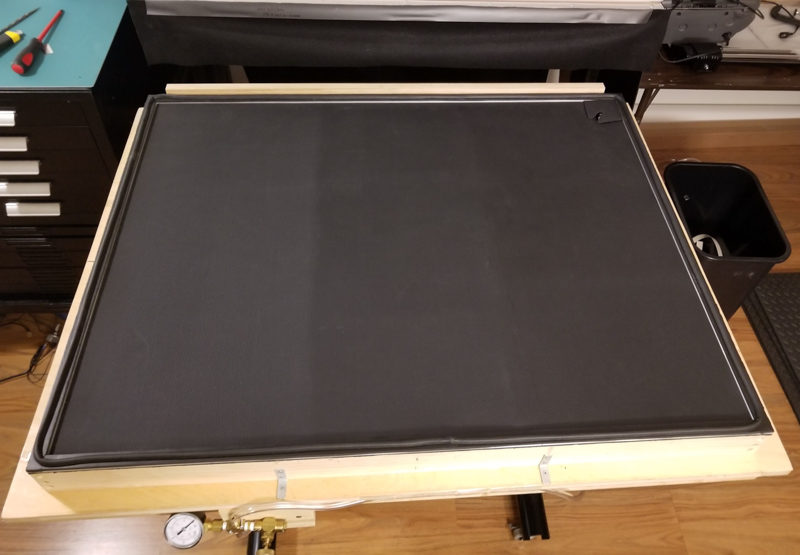
I’ve finally finished building a new vacuum frame. It replaces one I built a few years ago which used a commercially available plastic film called Kreen. I ran into too much variability in the UV density of that product and decided I needed to begin using a glass cover over the negative and paper.Here is the new frame with the UV exposure unit behind it. The frame rolls out from under the bulbs for access.

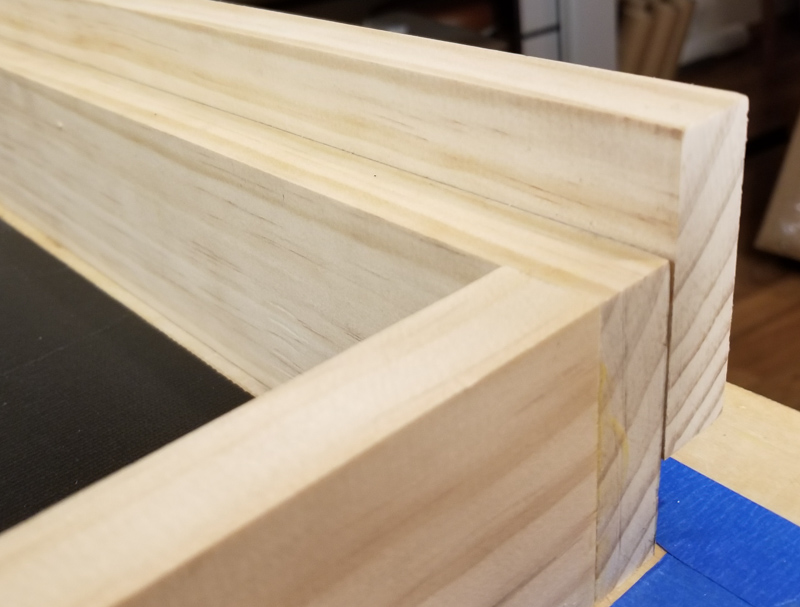
I built this unit over the existing frame using the original 3/4″ plywood as a base. The new frame is 1″ x 3″ select pine and the pieces measure 40″ (front and back) and 30″ sides.
Here, I am pre-drilling holes for mounting the aluminum strips which will hold the Neoprene sheet in place. It was quite a project drilling then countersinking the aluminum every two inches.
I placed a strip of wood behind the back edge as a stop for the 1/4″ plate glass. I decided against fancy hinges and will likely add a strip of Duct Tape as a makeshift hinge.
I decided to add support for the Neoprene which was surprisingly heavy at a span of 40″. The black material was a leftover from the original frame. At this stage I realized I may need future access to the inside of the frame. I did not want to have to remove the Neoprene and weatherstripping, so the metal angle brackets were moved to the outside of the frame.

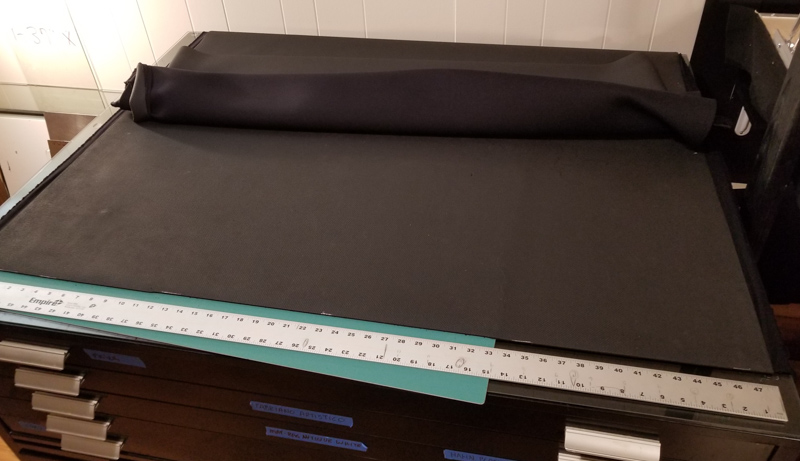
Here is the sheet of Neoprene (rubber) I purchased from Foamorder.com. It is 3mm thick, and is textured on one side with a nylon mesh on the other side. The textured side will be face up against the glass to allow channels for the air to escape. The pre-cut sizes are large enough for a replacement sheet for use in the future.
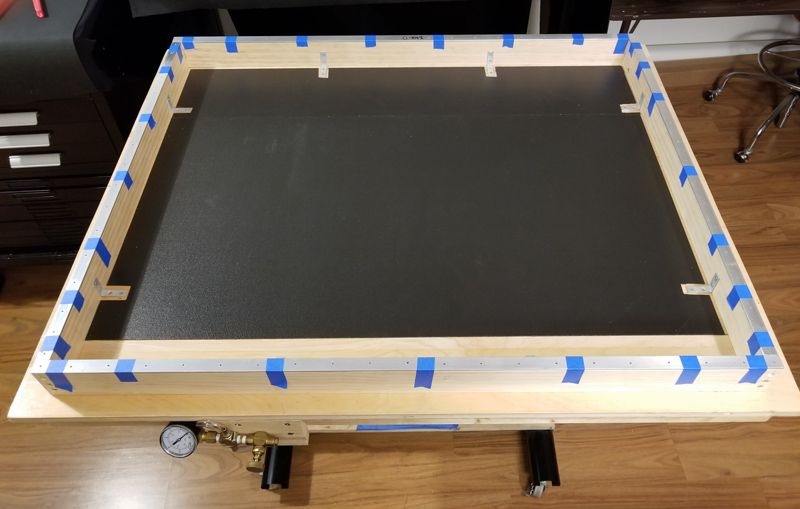
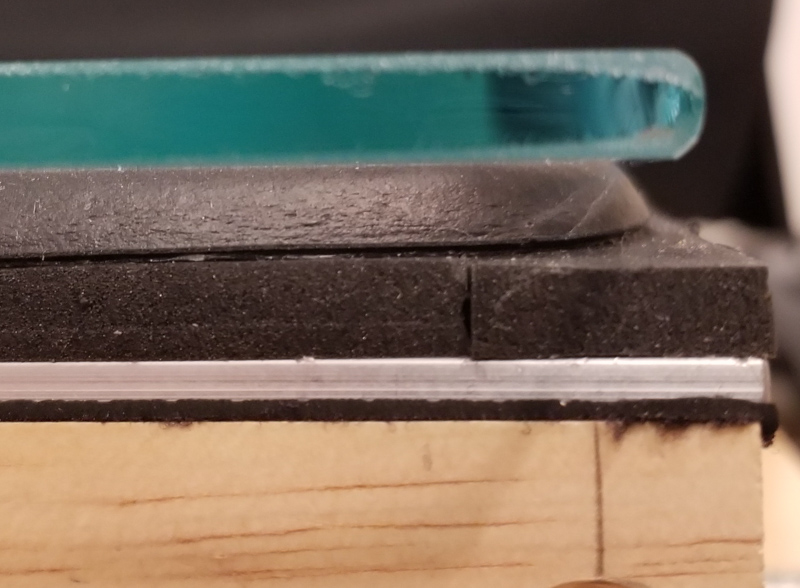
After mounting the Neoprene using the aluminum strips to hold it in place, I attached flat, closed-cell foam weatherstripping 3/4″ wide by 1/4″ thick. Unfortunately, this did not allow a vacuum to develop. I then added a small D-tube rubber weatherstripping on top which worked nicely. At the two seams of the D-tube material, I sealed the ends using a fast-setting rubber glue.
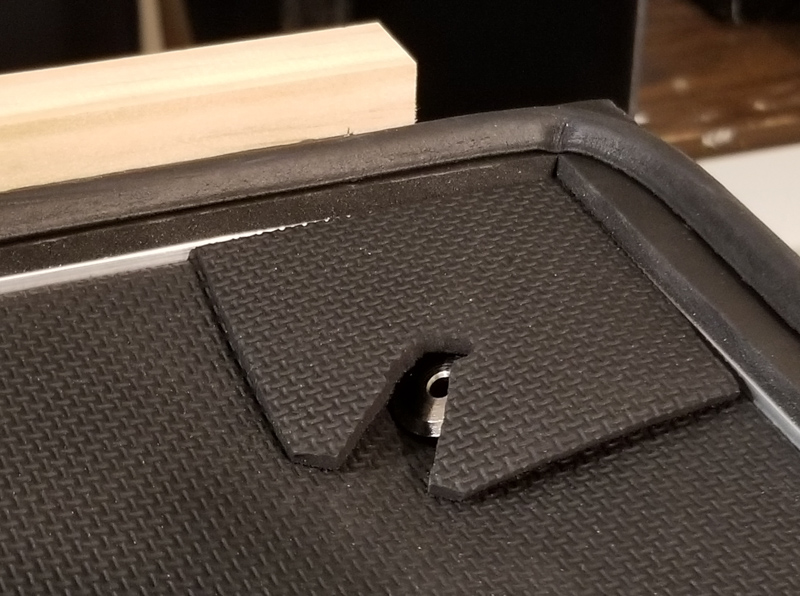
Before mounting, I cut a 1/4″ hole in the Neoprene for attaching the vacuum hose.
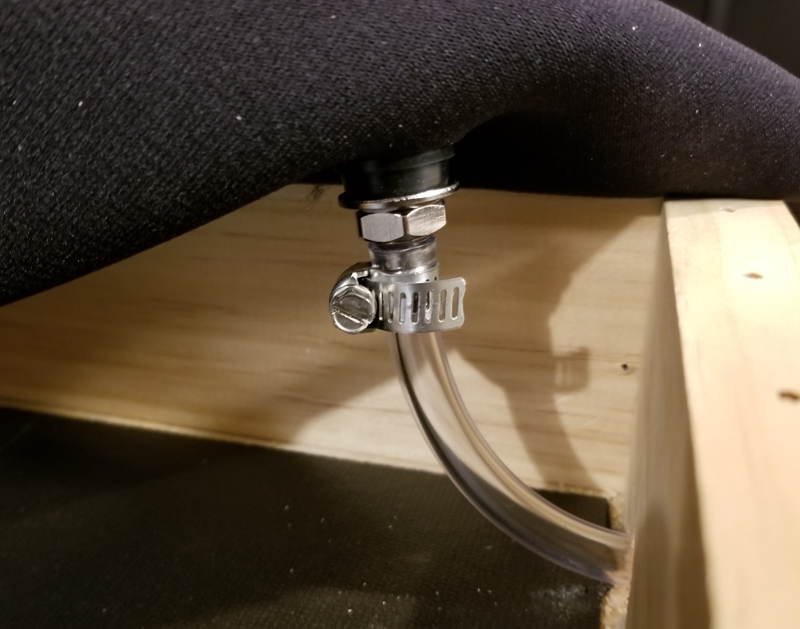
The hose is attached to the sheet via a automotive tire valve stem. A small piece of leftover Neoprene acts as a guard to protect the glass from the chrome valve stem. The texture of the rubber sheet is very apparent here.
For the needed volume I purchased a vacuum pump rated at 2.5 cfm. I mounted a power strip for easier on/off switch access.
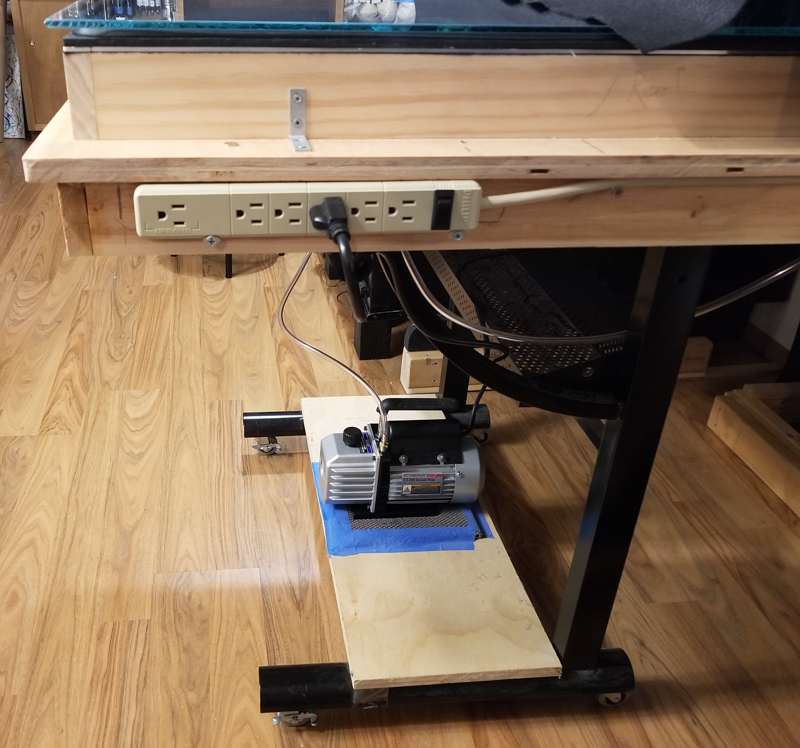
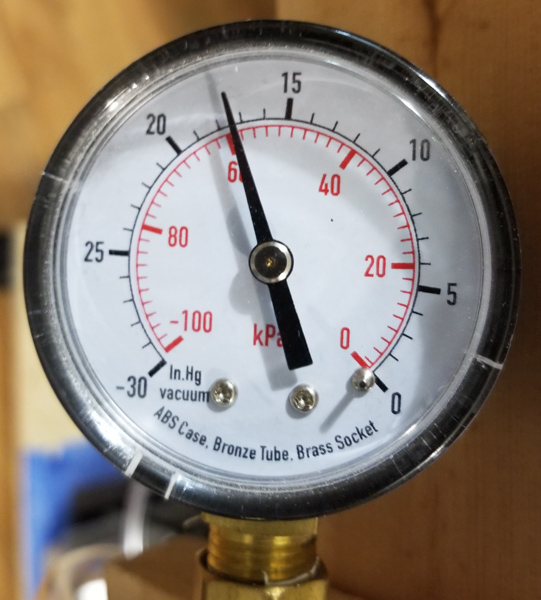
I used the same gauge as my old setup. Here it is pulling over 17 inches of vacuum with the new frame. I have a bleeder valve (not shown here) for fine adjustment of the vacuum.
The image below show the layers. 1. wood base frame 2. Neoprene 3. aluminum strip 4. Foam insulation 5. D-Tube insulation 6. Glass
Finally, here is the new UV meter from Ian Leake (tapered box) which just arrived this week. Behind it is a controllable outlet box which will turn off the bulbs when the correct exposure has been reached.

And the remote sensor placed onto the glass. It is out of the way of the largest print I plan on making at 20″ x 25″ with the paper temporarily bonded to 25″ x 30″ aluminum sheets for accurate multi-layer registration.

As of this writing, the vacuum frame has not been used in making a print, having been completed only this afternoon. But, I did place a sandwich of paper mounted to metal, a negative and a carrier sheet into the frame and fired it up, and there appeared to be solid contact.
Links:
UV Meter: https://ianleake.com/light-counter-system/
Neoprene: https://www.foamorder.com/neoprene/neoprene.html
Low iron glass: http://www.starphireglass.com/